Disclosure: This post may contain affiliate links. I receive a small commission at no cost to you when you make a purchase using my link.
Wondering how to use setting powder? Learn how to find the right product for you, what tools to use, and how to achieve a flawless look!
Setting powder might just be a girl’s best friend. It reinforces a natural or matte finish, it helps with the application and bendability of other powder products onto the face, and most importantly, it holds foundation and concealer in place, preventing creasing and sliding.
I’ll admit, it took me a minute to feel comfortable with it. But once I learned how to use setting powder to achieve a variety of makeup looks, it soon became the finishing touch I couldn’t live without.

When to Use
Setting Foundation & Concealer
The primary use of setting powder is to keep liquid products including foundation, concealer, contour, or blush from moving. Setting powder adds a protective layer that keeps makeup in place usually defeating oil, sweat, and even when your hands make their way to your face.
Sometimes what starts as an innocent scratch on the check can turn into a 4-inch streak. No beuno. Always use setting powder to keep it cute and prevent such makeup mishaps.
Touch-up the T-zone
The T-zone is made up of your chin, the dip between your nose and upper lip, bridge of the nose, and the forehead. Tracing this path will draw the letter T. This is where more oil glands are active making liquid products even slipperier. But that’s not an issue once setting powders applied.
Replace Foundation
Some setting powders offer enough tint and coverage to be used in place of foundation or concealer. Simply apply tinted setting powder over a BB cream, CC cream, or your everyday moisturizer.
Setting powders will mattify the extra shine and create a thin veil similar to a light-coverage, matte foundation. Other powder products like blush and contour can be applied on top of the setting powder foundation replacement.

Reach For Organic or Natural
But it’s just setting powder. Does it have to be organic or natural?
Whether you’re going for a demi-matte, soft-natural, or pearly highlight finish- the basic ingredients within conventional setting powder are all very similar and equally not so great for long-term use. Here’s a little insight on what you DON’T have to worry about when using any of the best natural and organic setting powders.
There are quite a few ingredients in conventional makeup to watch out for. For the sake of this article, I’m going to focus on Setting Powder’s primary culprit- Talc.
Used in most conventional powder makeup, especially setting powder, Talc or Talcum powder can be contaminated with asbestos fibers, making it a risk for respiratory toxicity and cancer. Even exposure to asbestos-free talc in a lab study, demonstrated mixed results, with some cells developing cancer and others not. That’s still too high a risk to be breathed in regularly.
Natural and organic setting powders turn to these risk-free ingredients instead of talc.
- Tapioca starch
- Arrowroot powder
- Kaolin clay
- Rice/corn starch
- Oat flour
- Maca
All of which have a 0% likelihood of causing cancer or ailments. Many natural and organic setting powders also contain nutrient-rich, antioxidant-infused botanicals that add a touch of skincare to the setting powder experience.
Now, the best part. Discover 8 Best Natural and Organic Setting Powders that lay on the skin beautifully, work effectively, and allow you to set your makeup and be care-free about it.
Apply the following “how to use setting powder” techniques to make the most of your natural and organic setting powders.

Choosing Your Setting Powder
Setting powders come in a variety of textures and tints. Most notably, these variations serve different skin types and often take a little experimenting to figure out which is suitable for you. Many people have to use two different setting powders. One for setting the T-zone and another for the rest of the face. Which one works best for your skin type and desired finish?
Loose: Loose setting powder is great for all skin types. It’s effective for “baking” liquid foundation or concealer into the skin, and it gives you control over how much powder you apply. This gives you the freedom to decide how matter of how natural you’d like the finish to be.
Pressed: Pressed or compact setting powder is easier to use on the go, is ideal for touch-ups, and is great for reducing the extra shine common in oily skin.
Translucent: Think of translucent setting powder as an extension of your foundation. It’s meant to set all makeup in place to keep you from having to reapply throughout the day and can save you from major cake-face.
Tinted: Tinted setting powder can do everything translucent powder can except it adds extra pigment. From light to medium coverage, tinted setting powder is a great way to correct makeup that may have moved or cracked after a few hours of wear.
See our list of the best natural and organic setting powders.
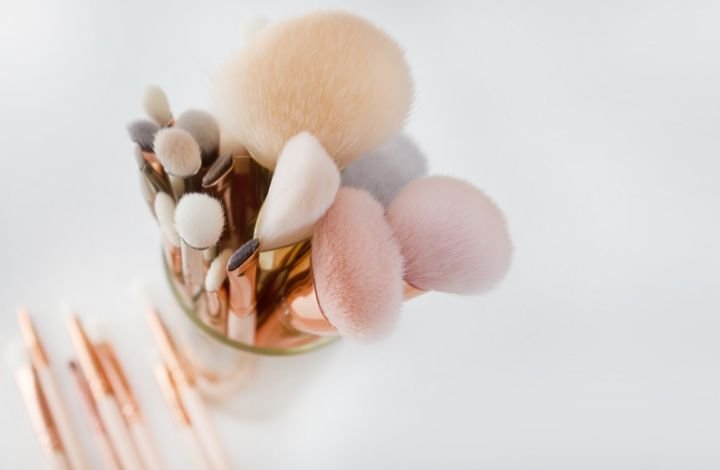
Choosing Your Tool
Loose Powder Brush: A loose powder brush is great for covering more area. Use a loose powder brush to set the entire face or to dust off any excess setting powder.
Kabuki Brush: A Kabuki brush is dense and great for pressing powder into isolated areas like the under eyes or while contouring your nose. It’s also useful to use when you want to apply a dense amount of powder before dusting it off–a technique often used when baking.
Beauty Sponge: Using a damp beauty sponge is the favored method of applying setting powder. It allows you to push the powder into the skin while blending it. It’s also versatile enough to be used to bake powder into isolated areas but isn’t as effective for all over powdering.

How to Use
Now that you’ve got your tool and natural setting powder of choice, here are a few easy application techniques.
Setting: Tap a small amount of loose setting powder into its lid or a beauty plate. Dip a damp beauty sponge into the powder and gently press it into your under eyes to keep concealer from creasing and press it into your T-zone. With a loose powder brush, dip into the remaining powder to dust along the rest of the face and simultaneously catching any extra powder from the T-zone. Finish with a natural setting spray for added moisture or to make the finish less matte.
Baking: To eliminate large pores, create extra oil absorbency, and keep foundation in place with lock and chain…baking is your best bet. Apply thicker amounts of setting powder in the areas most likely to crease or get oily. Let the setting powder rest on the skin to “bake” for 3-5 minutes (some people go even longer), then dust away with a clean powder brush revealing an extra-matte veil over your foundation.
*Baking can be effective but isn’t great for everyone. If you have extra dry or mature skin, you won’t require this additional step as the drying effects of baking can make your skin look textured and rid it of the little moisture it has. In that case, the regular setting powder technique works best.
Touch-up: To touch-up your foundation or eliminate mid-day oiliness, reach for a compact setting powder and a beauty sponge. Press the dry clean sponge into the compact then press setting powder into your skin. Avoid touching up too much so pores don’t become overwhelmed with product.

Conclusion
Fortunately, setting powder is one of the few makeup items that’s hard to mess it up. The only rules of thumb are to start off light-handed and to be patient.
Sometimes the magic happens when you’ve discovered a product that works perfectly with your skin along with the applicator that gives you the flawless finish you’ve been dreaming of.
Remember to check out our list of 8 Best Natural and Organic Setting Powders and before you know it, you’ll be setting it, forgetting it, and never regretting it 😉


Leave a Reply